
In my last post I concluded that I don't think printmaking is quite for me in the long run. But if you read that post to the very end, you were left hanging, and with an * no less! There was one thing I really loved: relief printing.


I found the the complex process of relief to be something I really enjoyed thinking about. There was also more instant gratification than I'd had in intaglio printing. The lino cut piece took just one week, much of it in class!

Even though it took a month to complete the woodblock design (and that was working on it what felt like day and night), the steps throughout were highly rewarding, and it was great to finally use some color ink.
 |
| Woodblock print after the second of eight colors |

For the woodblock story, let me start at the beginning.
Our assignment: to somehow use animal imagery in a way that meaningfully connected with our heritage or background.

Hooley the Dog is the only animal I've ever loved in my life, and it turns out that Paul and I happen to own chickens and bees too! So that's where I started, along with a sense of humor (all we need is a goat!), inspired by vintage dishtowels and other chicken art I've made in the last year, and with the desire to integrate text into this project somehow.
While developing my idea with my instructor Johnny, I got to thinking about how chicken farming was what sustained my mom's family as she was growing up in the 50s and 60s. So I texted my aunt, who was really involved on the chicken farm as a kid, and who has taken the concept of farming to a different level on her own large California acreage.
There seemed to be a thread of farming, for various reasons and in various ways, in my very own family.

I drew the above image onto an 18"x30" piece of plywood, and once it was finalized, covered it in shellac to use as a guide throughout the carving and printing process. The first task was to cut away the parts that I wanted to be the color of the paper, white.

Then I covered it in cream-colored ink and printed 7 prints, five on cotton paper and two on cotton fabric (dishtowel theme).


Then I wiped off the cream-colored ink from the wood and started carving away all the stuff I wanted to remain cream on the final print. This meant carving away most of the background, which took several hours. I managed to listen to the entirety of the excellent podcast S-Town over the course of a week while carving, carving, carving.


I was thinking ahead to the next color: yellow. Looking at my original drawing, there are only a few things I wanted to be yellow: the chicken's legs, the bees wings, and the flowers dotting the background.
Between each color stage it was more about carving the right stuff off while advancing through my color palette. I had to think ahead and behind at the same time.

Between each layer of ink, the prints had to dry overnight. A perfect time to carve more of the woodblock!
 |
| Starting to show some depth with 4 colors: cream, yellow, light green, dark green. |

As the colors progressed the plywood board became less and less recognizable.


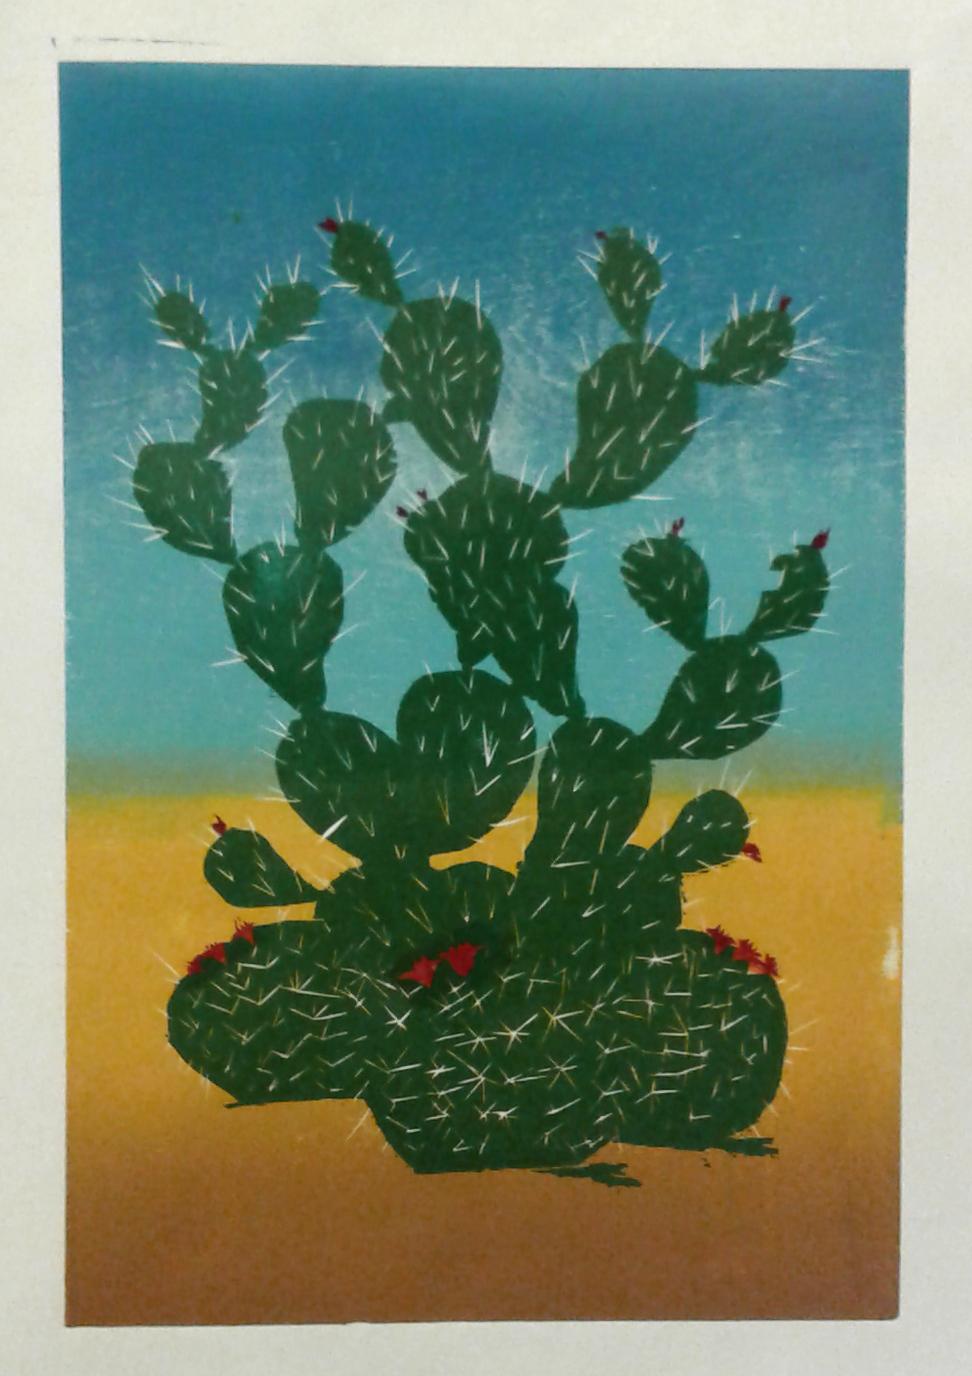
Our minimum color requirement was 3 colors. Of course I overachieved. No less than eight colors for me, including light and dark brown, orange, and red.
And here is the final piece (click on it to get a closer view):

The biggest successes are the orange tree and the border (reminiscent of this blanket project I did two years ago in Fibers), and the fact that I managed to keep all the words in tact while carving (hand slippage is very common--you'll notice the dates were scrapped).
I loved that this was the last part of our class, a high note for me to end on. Not only did woodblock relief printing boost my art confidence back up, but it redeemed printmaking overall for me in a meaningful way. I excelled at this process, my professor and TA were very encouraging, and I felt like I spiritually connected my grandfather (note the carving on the tree), aunt, and husband through the common interests we all had/have: the life and work and fun of a farm.
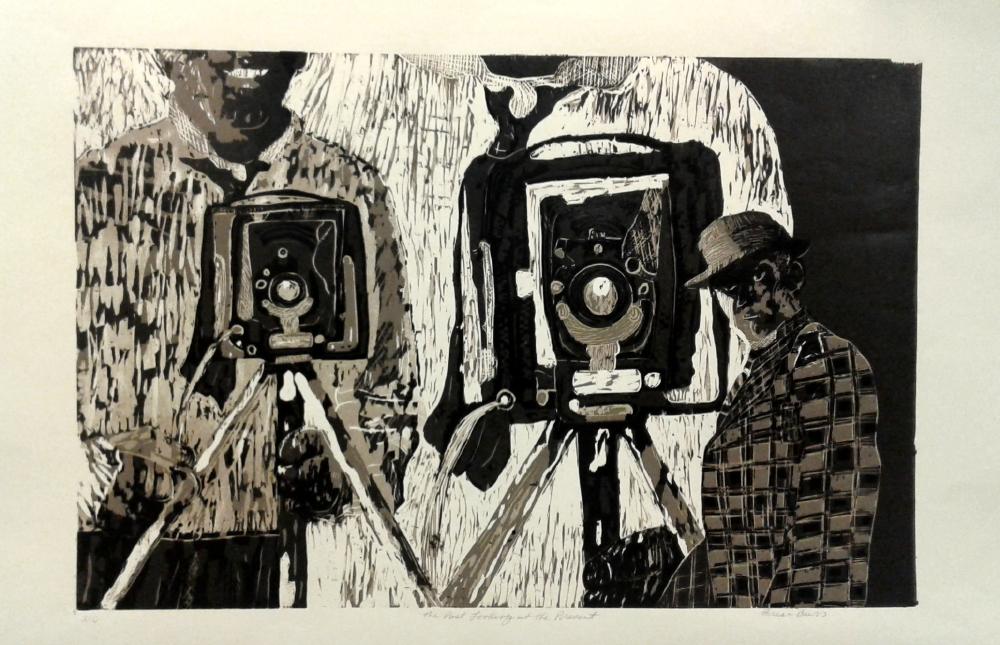
I thought, as a final nod to this topic on my blog, here are some of the other students' prints from this project. Post a comment or send me an email if you'd like to know who made these.


No comments:
Post a Comment