Friday, August 28, 2015

Volvelles Galore

If you saw my contribution to this year's card swap, or if you attended the 2015 Fort Collins Studio Tour, or if you've been in my life at all really, you will know that volvelles are another one of my latest obsessions.  It started with this, the first one I made for a friend's birthday in late February. I also borrowed the idea for the bird and flower from one of my fave local cafe's servers' uniform, Cafe Blue Bird.


Then I drew the five birds for the card swap cards, scanned them, cut them out, and added silly bird jokes. 


Well, that led to my development of a joke wheel, which is what visitors at the Studio Tour got to make-n-take as a souvenir from their time at Parsley Art Studio.

Finally, a friend of mine from the uni was leaving us, so I gathered photos and words from all our colleagues to make a huge, personalized memory wheel as a goodbye gift. I loved this because it was art and community in one, my two favorite things ever.


Felt Board (with Instructions)

I have a friend who turned 4 this summer! As a gift, I made her a felt board, which she loved. This was a meaningful, easy and inexpensive gift. Along with the shapes I cut for her, I gave her the leftover felt and encouraged her to make her own shapes (with the cutting help of her parents, of course). I also gave her these pictures so she'd have an inventory of the shapes I made for her.


How to make your own felt board:

Supplies:
  • Some kind of wooden board, any size. I used a 18x24 inch bulletin board I got at a garage sale for $2, which offered a nice frame, but it can be any board. If you're gifting this to small people, consider the weight of the board. (I don't recommend foam core--it warps with heat or moisture.)
  • Felt - if you want bigger pieces than felt squares (available in a ton of colors at the fabric store), you can find a more limited selection of colors on the bolt. Think of the scenes you'll want to create. I bought dark green, brown, and light blue off the bolt and all other colors in squares.
  • Scissors
  • Elmer's glue
  • Cheap 2" paintbrush
  • Ruler or measuring tape
  • Shoebox with lid or large ziploc bag


Instructions:
  1. Measure your board and cut a piece of felt (best if it's a neutral color, so it can fit most scenes) to that size. 
  2. Cover your board in glue, then use the paintbrush to brush it over the entire surface evenly
  3. Lay the large cut rectangle of felt over the glue and press gently to work out bubbles/wrinkles. (It's helpful to have another pair of hands for this step.)
  4. While that dries, cut out every shape, small to large, that you can imagine!
  5. Put the dried board and shapes within easy reach of whoever will use it.
  6. Store all your shapes in the box or bag when not in use.


Pop-ups

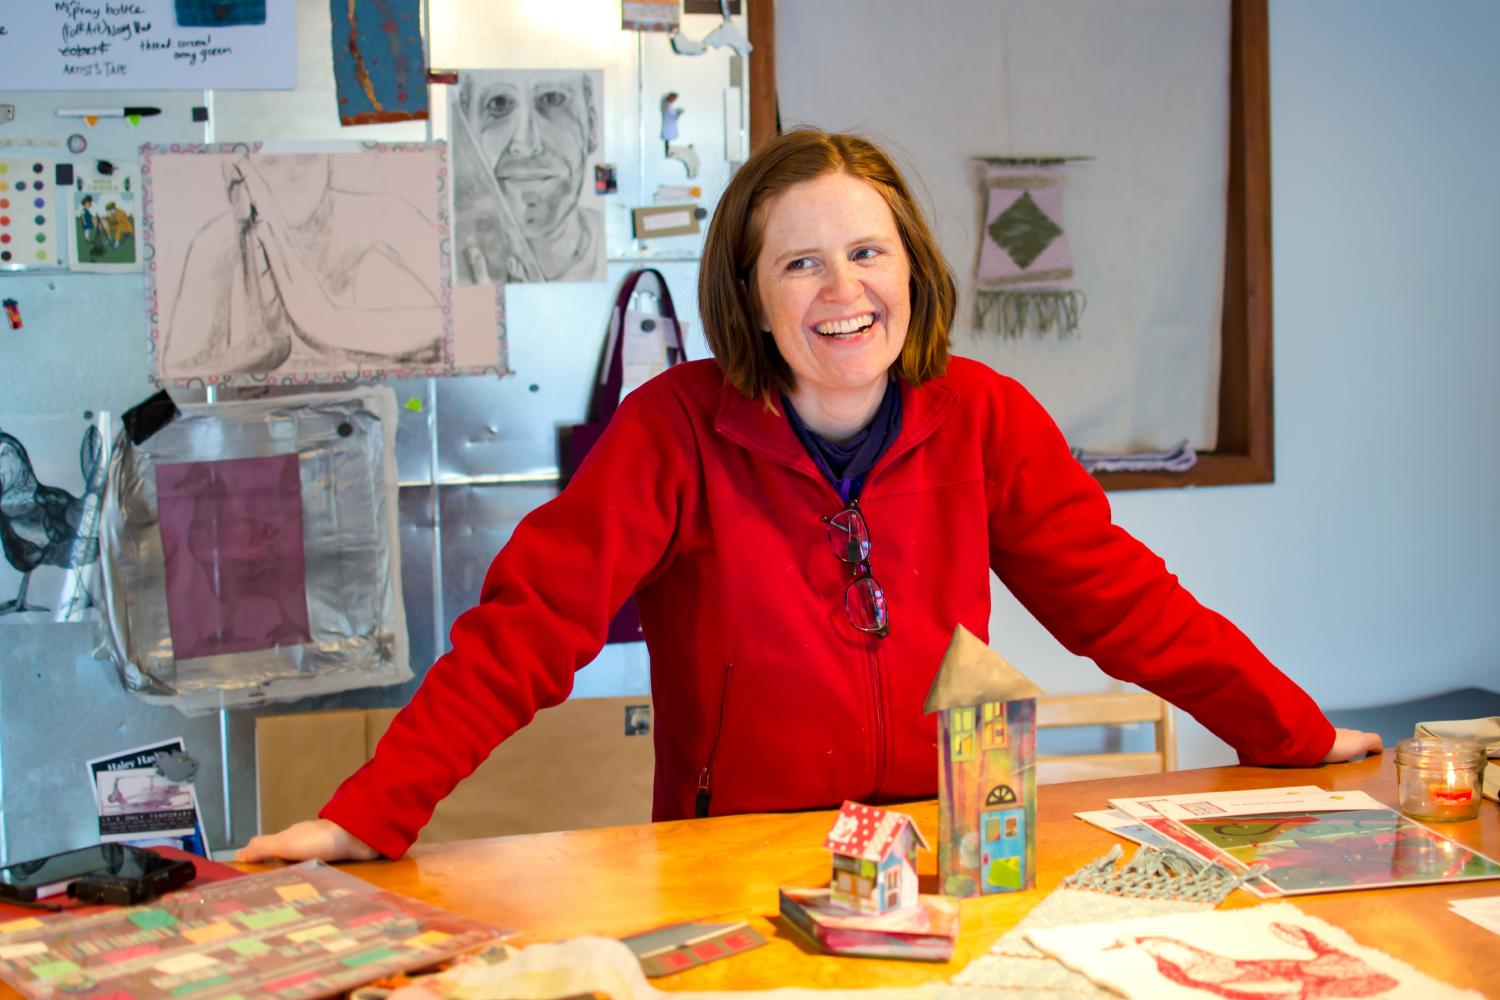
Since my visit to Ingrid Siliakus' studio, I have been obsessed with pop-ups. Here are some examples:


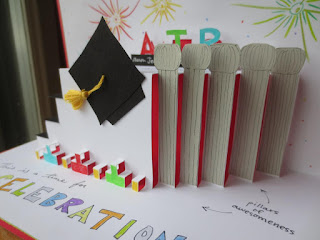
This was a graduation card for my cousin, my first original design! Pop up naturally lends itself to steps and pillars, which seems appropriate for graduation. My aunt loved it so much that she commissioned a card for a friend of theirs who was also graduating and going to Duke University on a baseball scholarship. It only took something ridiculous like three months to get 'er done, but finally, this resulted. Here is my original design sketch and the final product:


The magic of pop-ups is all on the inside, but if you make a card, you gotta have something on the outside that entices you to open it. So I put this on the front.


My favorite part of this card is actually the baseball player silhouette, which I made myself, starting from this drawing and using a little Photoshop magic:


This last one is simple, but was equally fun to make. I left lots of room on the base for everyone in the office to sign this card to our departing boss.


Takeoff!


Remember when I told you I wanted to jump in this balloon? (If you don't, click here and you can read all about it.) Well. After months (years?) of manifesting it, my day job has changed! I am now working just 20 hours a week, which is a huge blessing. I am humbled and grateful and hopeful that I can do this right.

What this means: more time in the studio, working to make money in the art world! This announcement seems appropriate considering this is my 200th blog post.

Let's see what this adventure brings! Thanks for being there with me as my support team. xo