How do you get from here:
...to here?
Well let me show you! Start by gessoing the construction paper. It gives paint and glue something to stick to (otherwise the construction paper just absorbs it; the colors sink in, the paper shows through, and the glue doesn't stick!).
Let it dry all the way.
Start covering it in pattern/tissue paper, old letters, dictionary pages, and other stuff from your collage box. Let dry.
Next comes painting. I measured the approximate size of the card I wanted in the end, so divided the paper up into spaces of that size. Turned out I could paint 24 birds on this one piece of paper. (I didn't end up finishing all 24--too much work!)
Start adding layers of paint for more depth.
Paint around the birds to make them pop(!), and add beaks and eyes. At this point, it was definitely easier for me to cut them up and start thinking of them as individuals. That big piece of paper gets in the way when you start doing detail work.
Dot the eyes (haha!) and start adding ephemera:
Around the time that I started painting the legs orange and the tummies/feathers light blue, I also clipped the corners to be rounded with a corner punch. Love that thing.
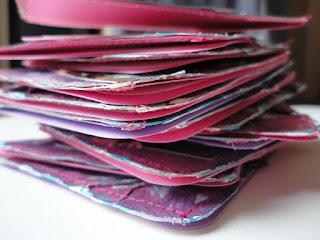
After that, I sewed each bird to a piece of folded card stock to create the actual card.
Voila! 16 lovely bird cards!!
Come back next week for more on the fold-y card I made for the swap!


1 comment:
Hi Heather, I love this post. I can't believe how much work goes into your creations. How lucky am I to be one of the recipients of one of the bird cards! Totally frame worthy. Ashley
Post a Comment